Very Specific Tips for Protecting Yourself During Your Car Rental
It’s only within the last couple of years that I’ve actively started renting cars. This was, in part, due to a general fear of driving in various foreign countries, my inability to drive manual, and a casual sense of befuddlement when it came to the tidal wave of fees and shady practices that seem to go hand in hand with rentals in many countries.
I’m freshly returned from Iceland where taking a number of steps and following some basic best practices ended up saving us over $300. A number of small mistakes and oversights in the process very nearly meant we missed out on compensation. I’m pulling together this basic overview based on my experiences, feedback from other travelers we met afterward and friends. It’s not exhaustive and your individual situation paired with the country you’re renting from should also always be considered. However, hopefully, I’m able to provide a baseline and a few simple steps to protect yourself.
The easiest and number one way to protect yourself is to not only inspect the car carefully when you pick it up, but to document it thoroughly using your camera or smartphone using a mixture of still photos and videos.
Increasingly, when renting cars I’m finding that a basic overview of damage is marked in vague terms on a sheet of paper handed over at the desk (or in the case of my rental at the Faroe Islands, sitting in the dashboard). The desk agents are typically apathetic, rushed, and show little concern or desire to update or correct notes made. Given how much time I find they typically spend trying to upsell me on added insurance, protection, GPS devices, and other random nonsense that typically costs as much, if not more, than the original rental, they’re often actively disengaged when it comes to marking existing damage. While I haven’t seen this correlate directly into dishonest attempts to charge me for pre-existing damage – it certainly transfers the majority of liability and risk to the renter and potentially pivots things into a you-said, they-said situation which you’ll likely lose.
I’ve also noticed with increasing frequency quite a bit of damage unmarked or unregistered to the vehicles. I’d estimate that around 40% of the rentals I’ve made in the last few years have had poorly or overlooked damage at pickup. In Romania, it was previous accident damage that had been rebuilt and a missing windshield wiper. In the Faroe Islands (pictured above), it was a missing piece of paneling behind the front tire. In this most recent rental in Iceland it included body scratches, window pitting, and subtle but severe tire damage.
Here’s the story and how it highlights exactly how and why you should thoroughly document the vehicle.
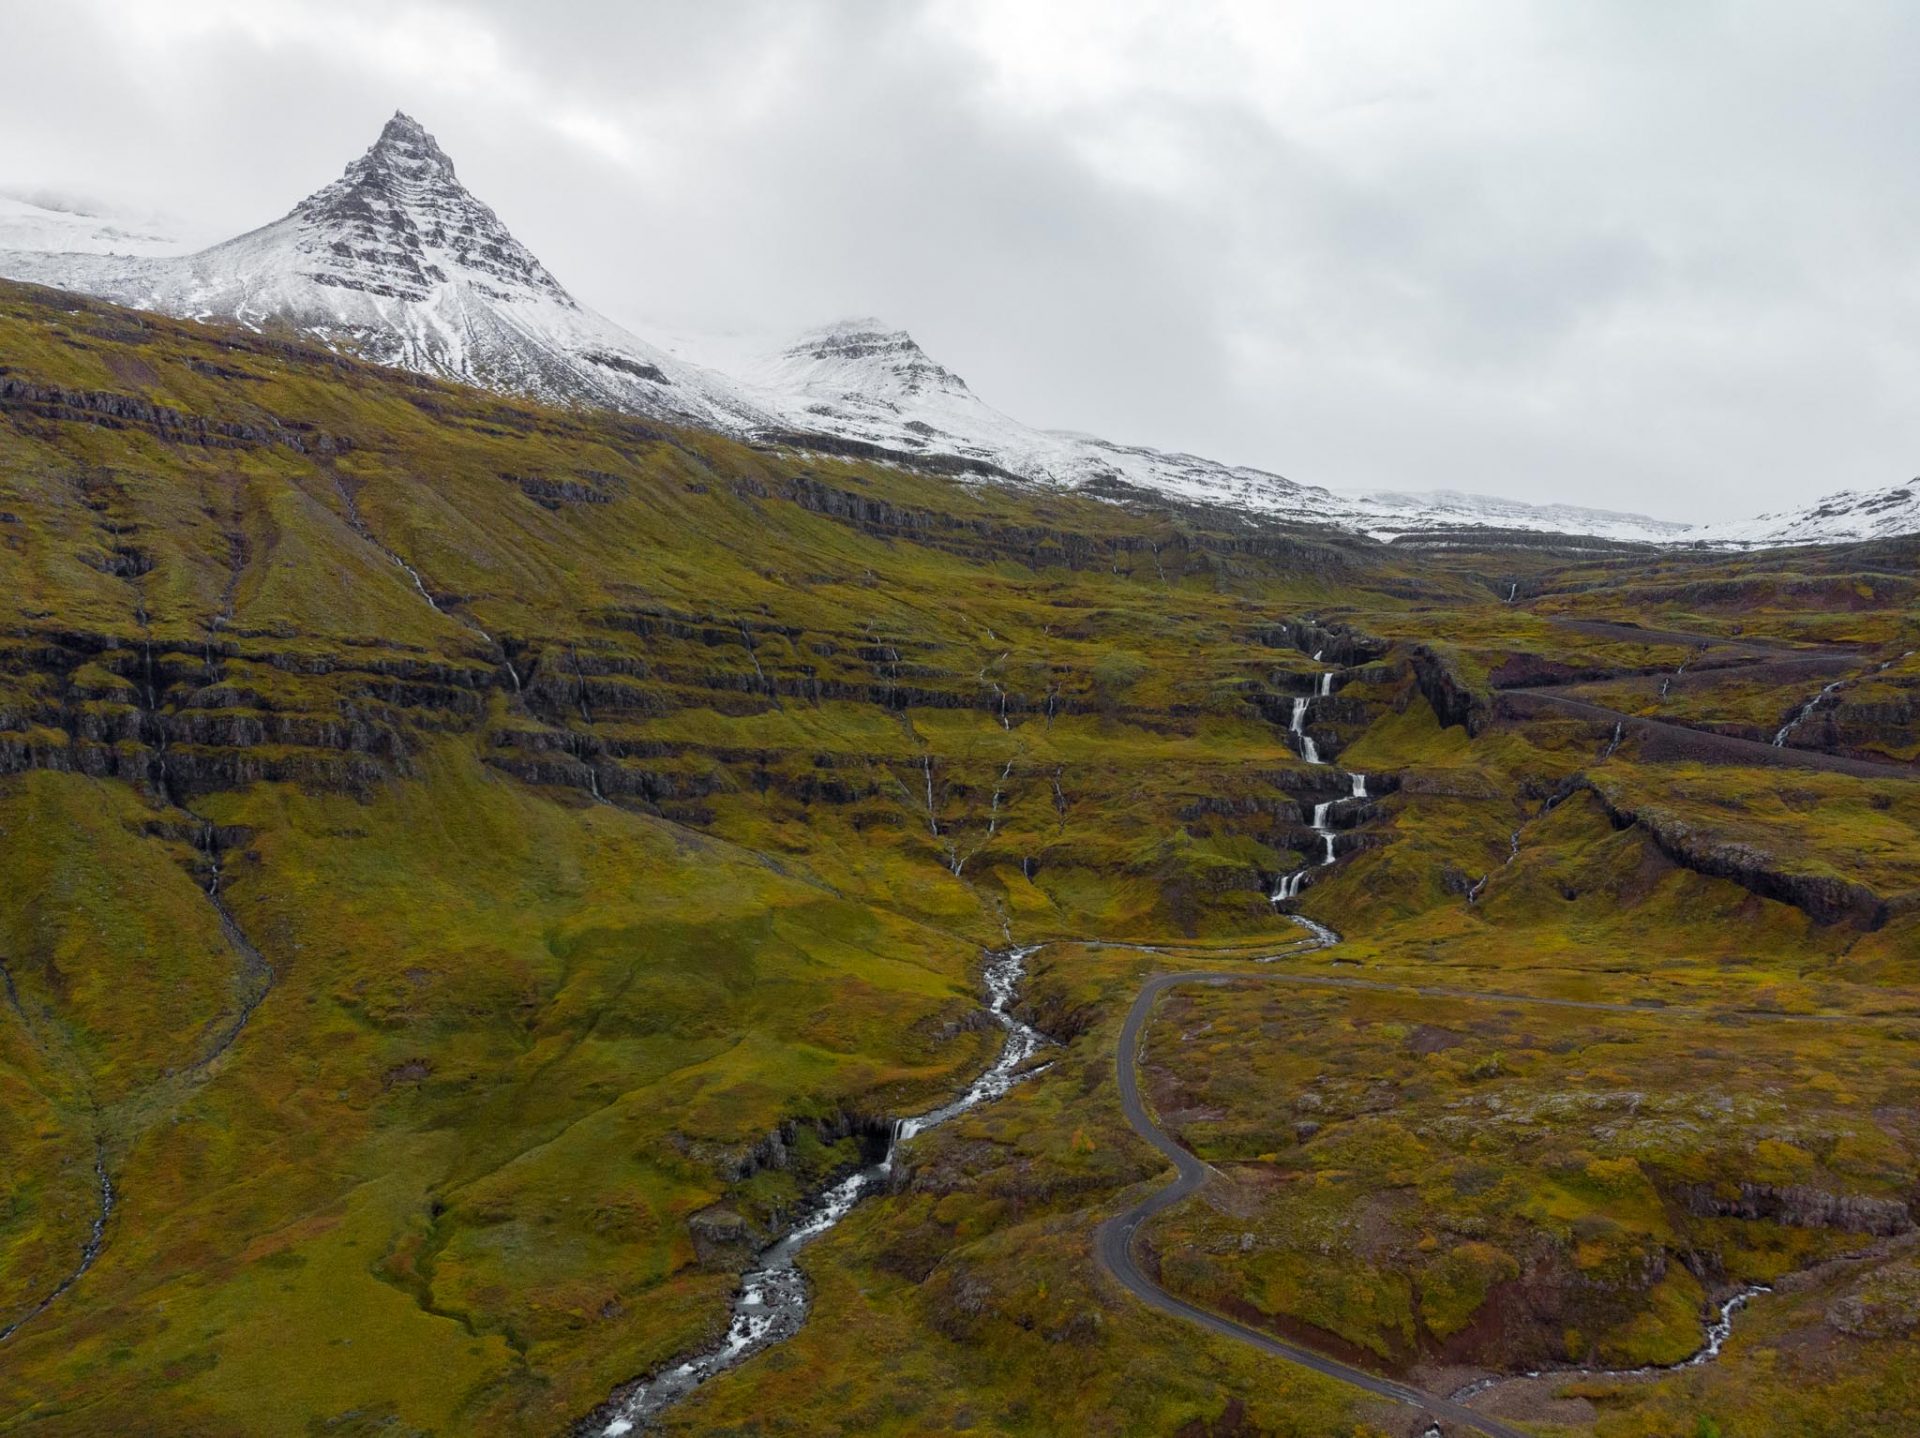
Upon arriving in Iceland and reaching the rental, we were greeted by strong winds, sunny skies, and an added paper slip informing us of a severe weather warning for much of the island and pushing us to pay the extra $150 or so for added insurance. To be perfectly frank, I actually thought it was just a clever marketing ruse to upsell drivers. But, in actuality, as it turned out the first major storm for the year was slated to hit later that day and it brought with it 14m/s winds and some pretty dramatic weather. While it ultimately wasn’t needed to add gravel, off road, and the various other protections which would have fully covered us for our 7-day rental – at the cost of an additional $30 a day – I might have reconsidered had I been fully updated on the nature of the storm rolling in. Instead, relying on the basic rental insurance and whatever added backup protection might be needed via my Visa Signature credit card we proceeded with our rental. Even if we caught a rock in the window – compared to the $210 in added fee premium insurances it would have cost and any minimums they might have included – it seemed likely to, worst case, break even.
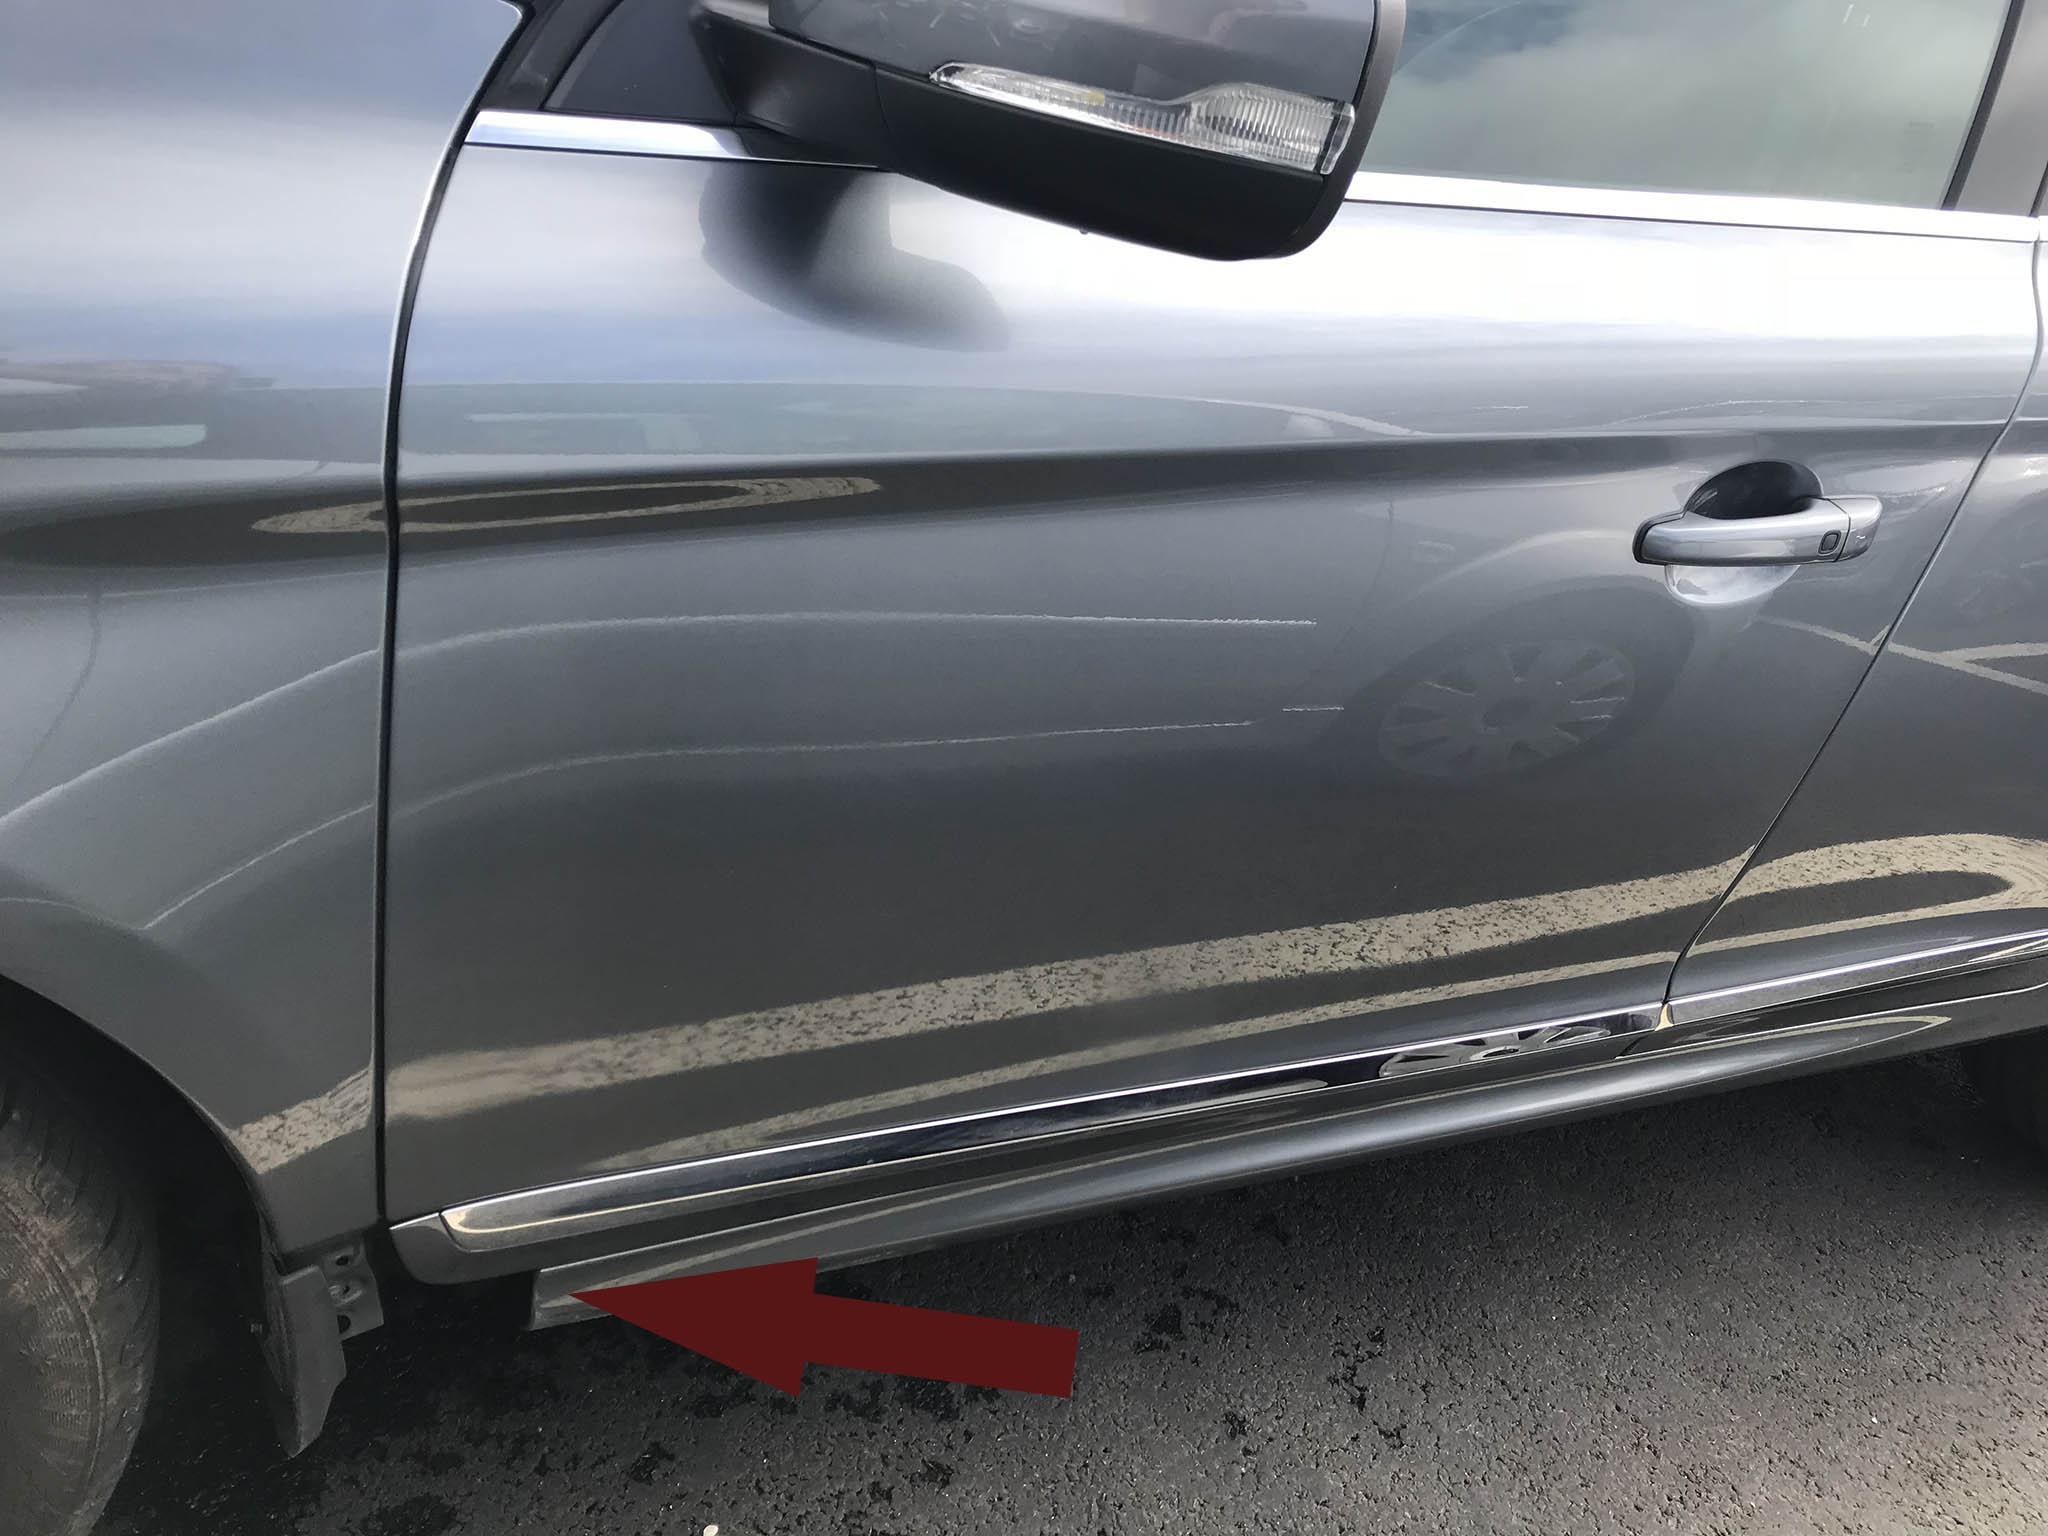
The rental we received had clearly seen some abuse. With over 40,000 km on it, the driver’s side door had been damaged/obviously overextended by wind previously, there was a long brush scrape down the right side, additional dents and pitting from a sandstorm visible in the body paint, and micro-pitting in the windshield. We started our inspection, saw that about half the damage was recorded on the damage summary form, and then despite the rest likely falling below the “threshold” for recording and getting charged, noted it and flagged it getting the form updated and signed off on. At this point, it’s worth pointing out that not only did the rental folks not join us for the initial inspection, they also signed off on the updated damage form without coming out and further inspecting the vehicle. After having to sign the storm warning slip, I was actually quite happy with and relieved to see that our vehicle was in solid shape but also not a fresh-off-the-lot rental with 50km on it.

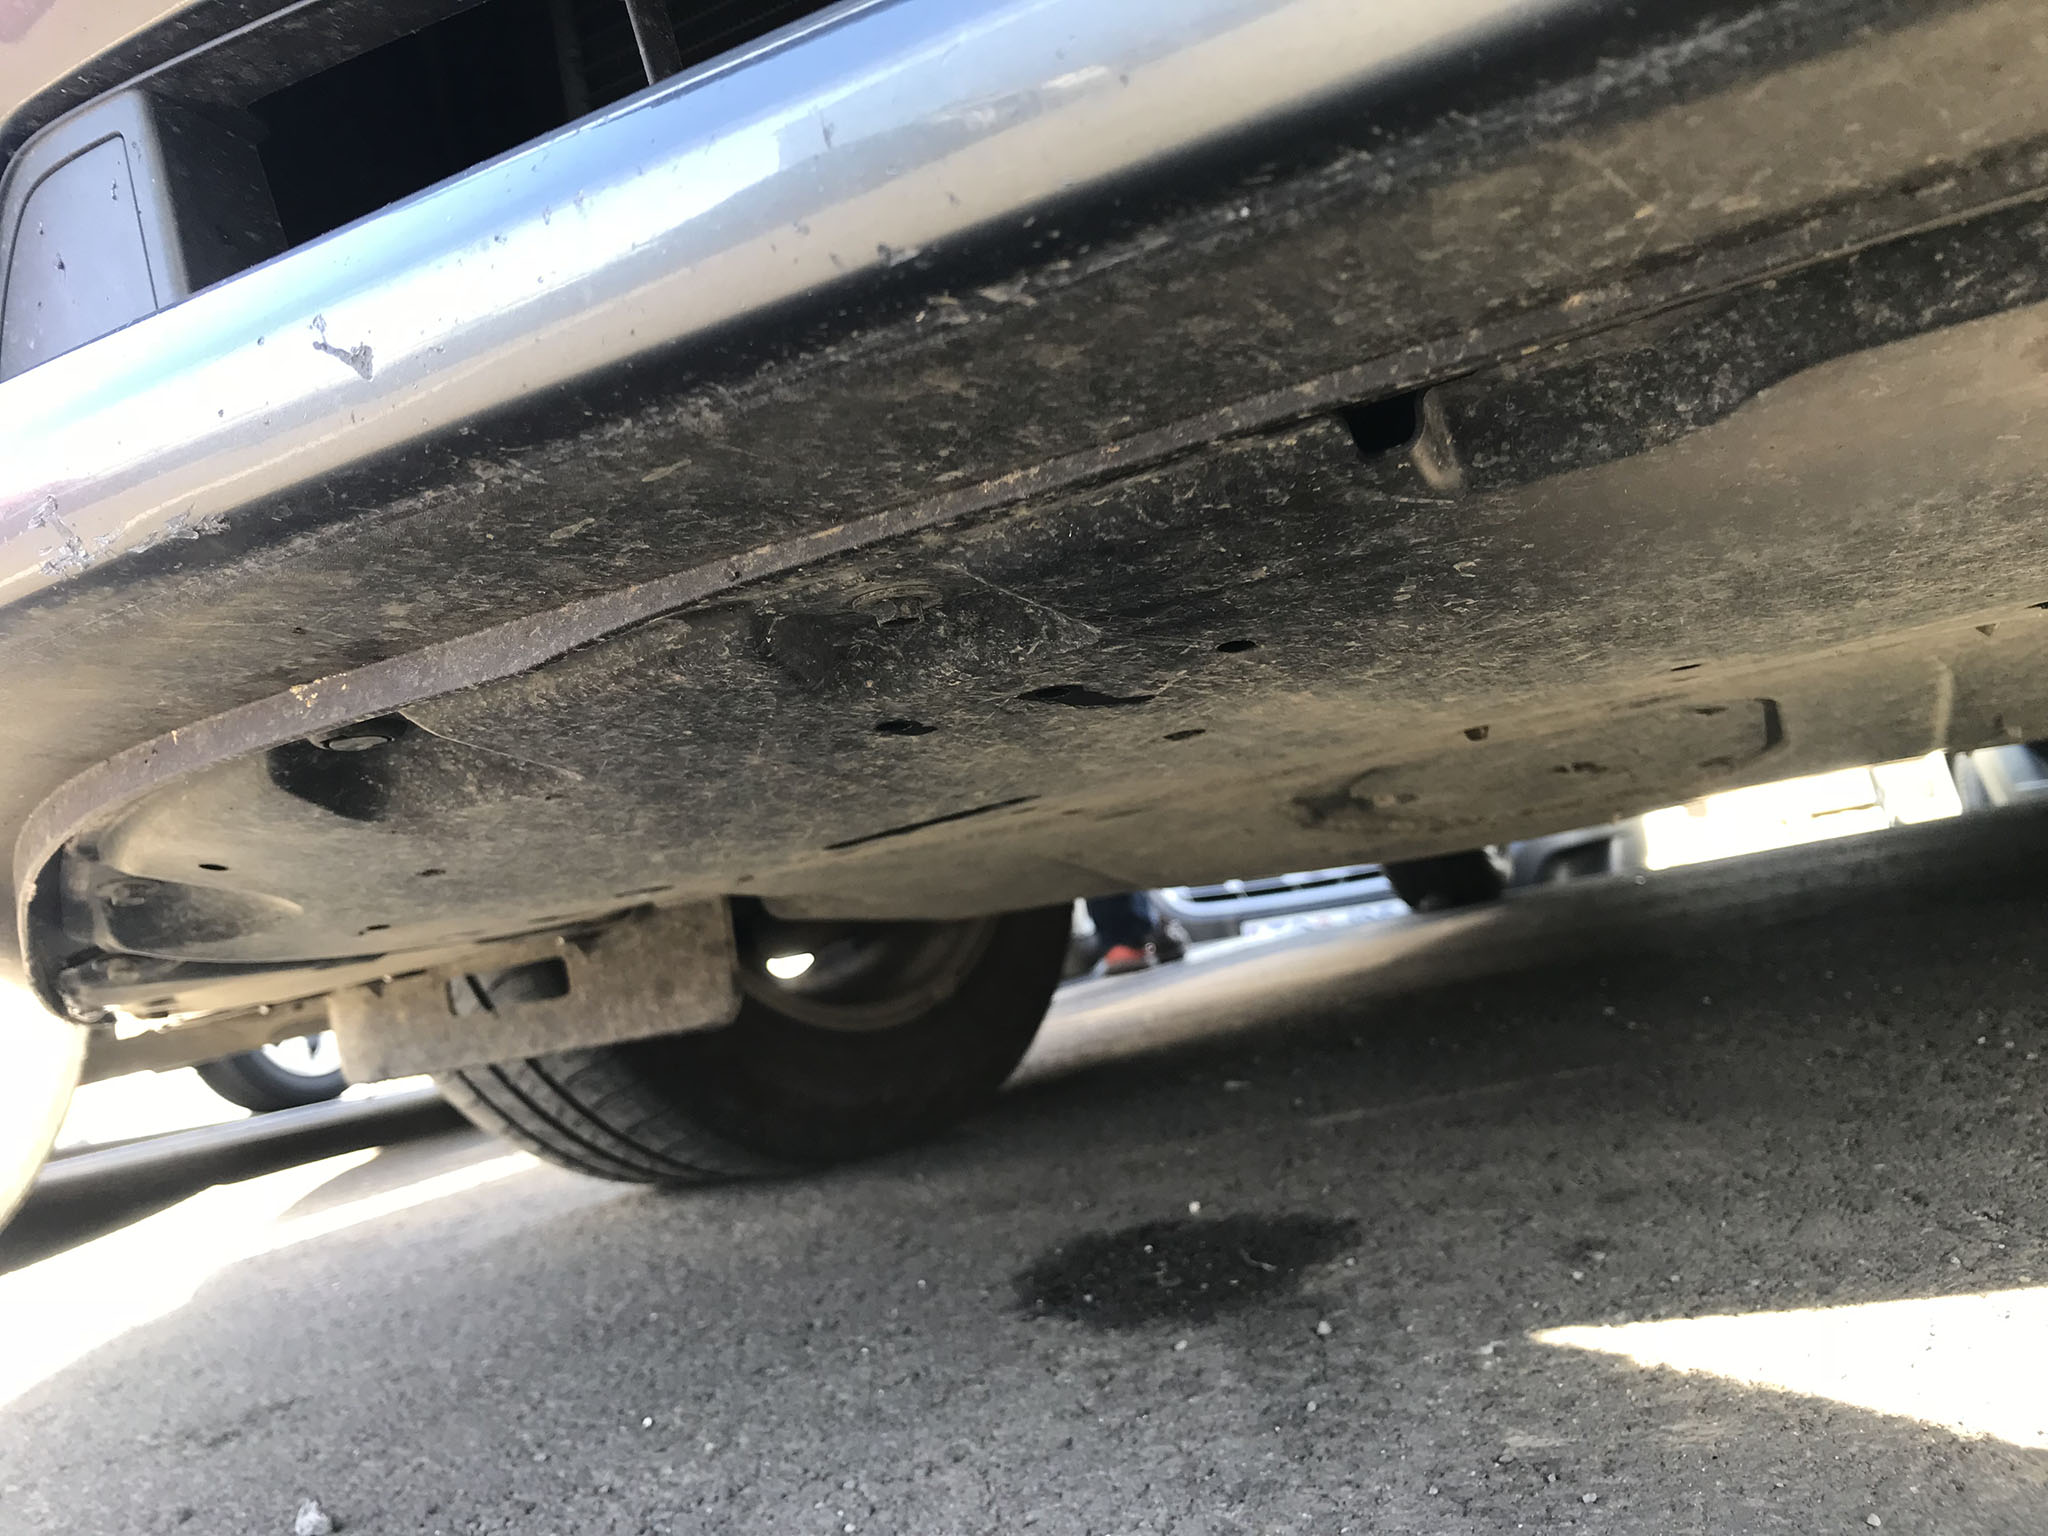
Despite being eager to get on the road, we still took the time to take around 30 photos of the vehicle. While the temptation is always to only photograph the immediate areas of damage, past experience had taught me to take a mixture of tight specific shots of damage, but to also take wider shots and to cover the entire car. Thrown off by previous oversights (the back windshield wiper in Romania, and the missing paneling in the Faroe Islands), I took what I thought were exhaustive shots. The car’s location in the parking spot did make photographing the front right side challenging and as it was the last part of the car, I rushed it a bit. But, as a second step I also kicked my iPhone over to 4k video and did a slow up and down 360 video of the car as best I could. I also took a moment to photograph the front grill up close, and put the camera down at ground level shooting up to show that there were no shocks or undercarriage components / plastic road guards hanging down or damaged.
Just like that, we were off and away.
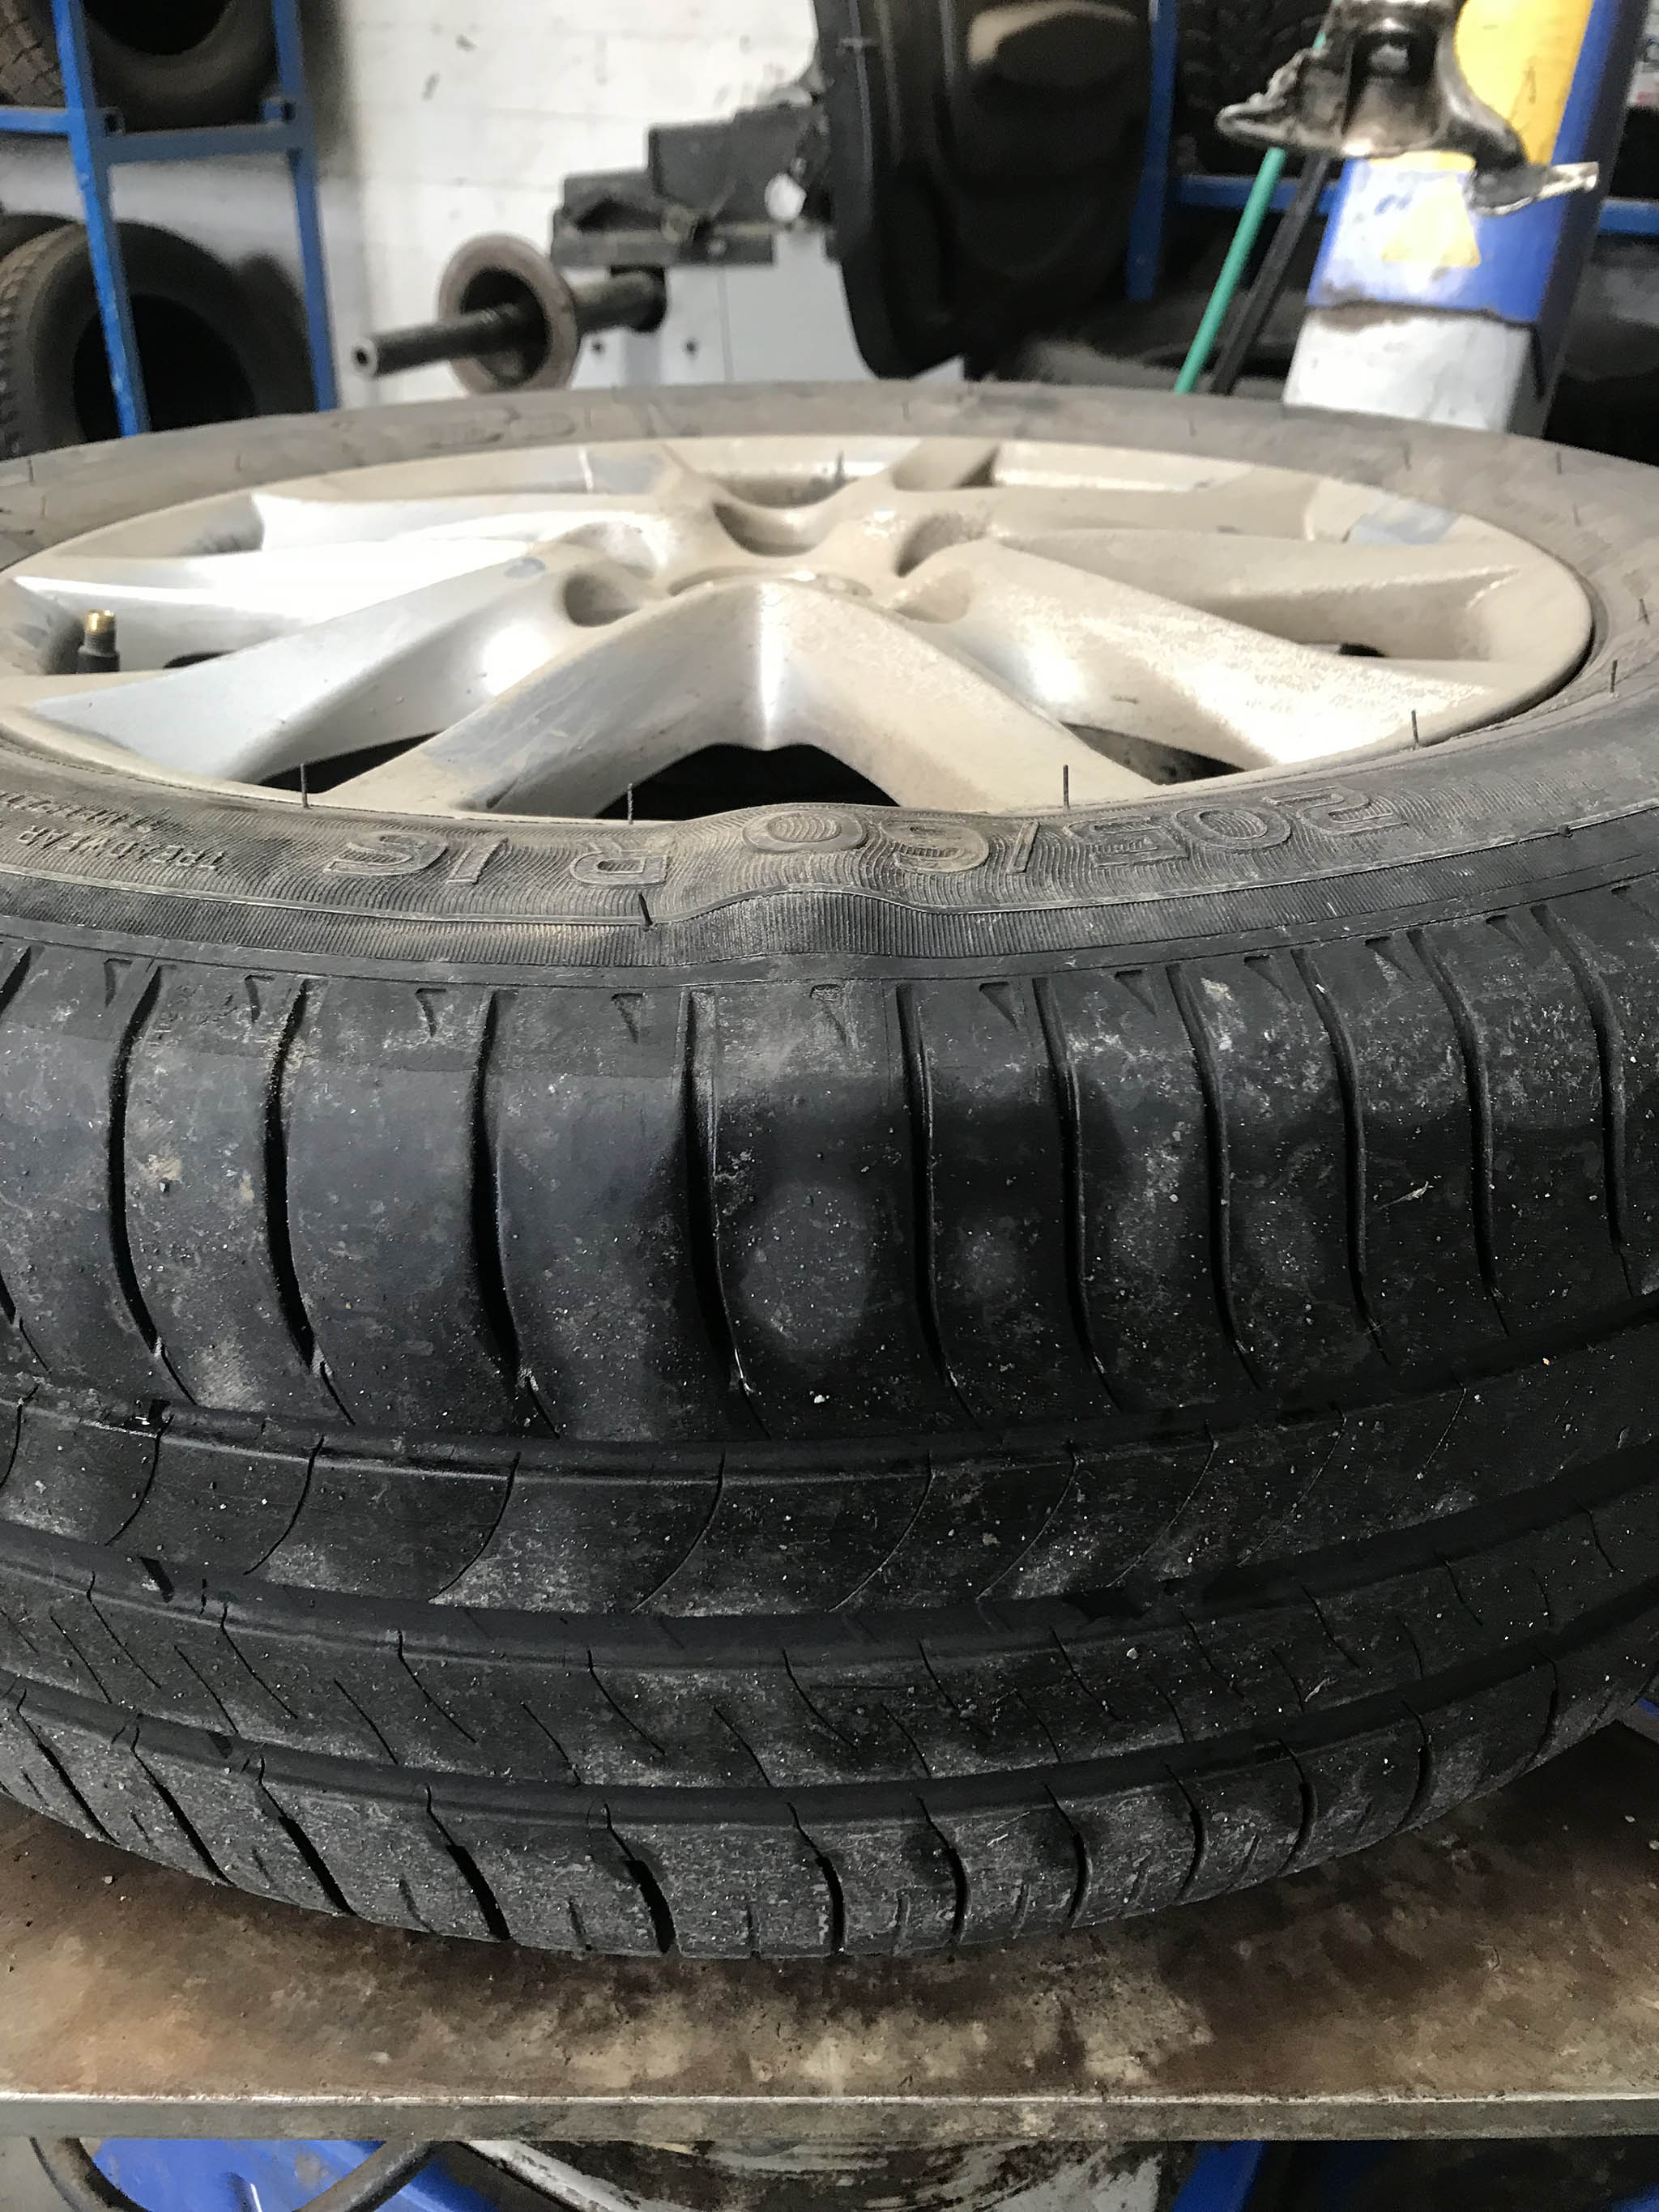
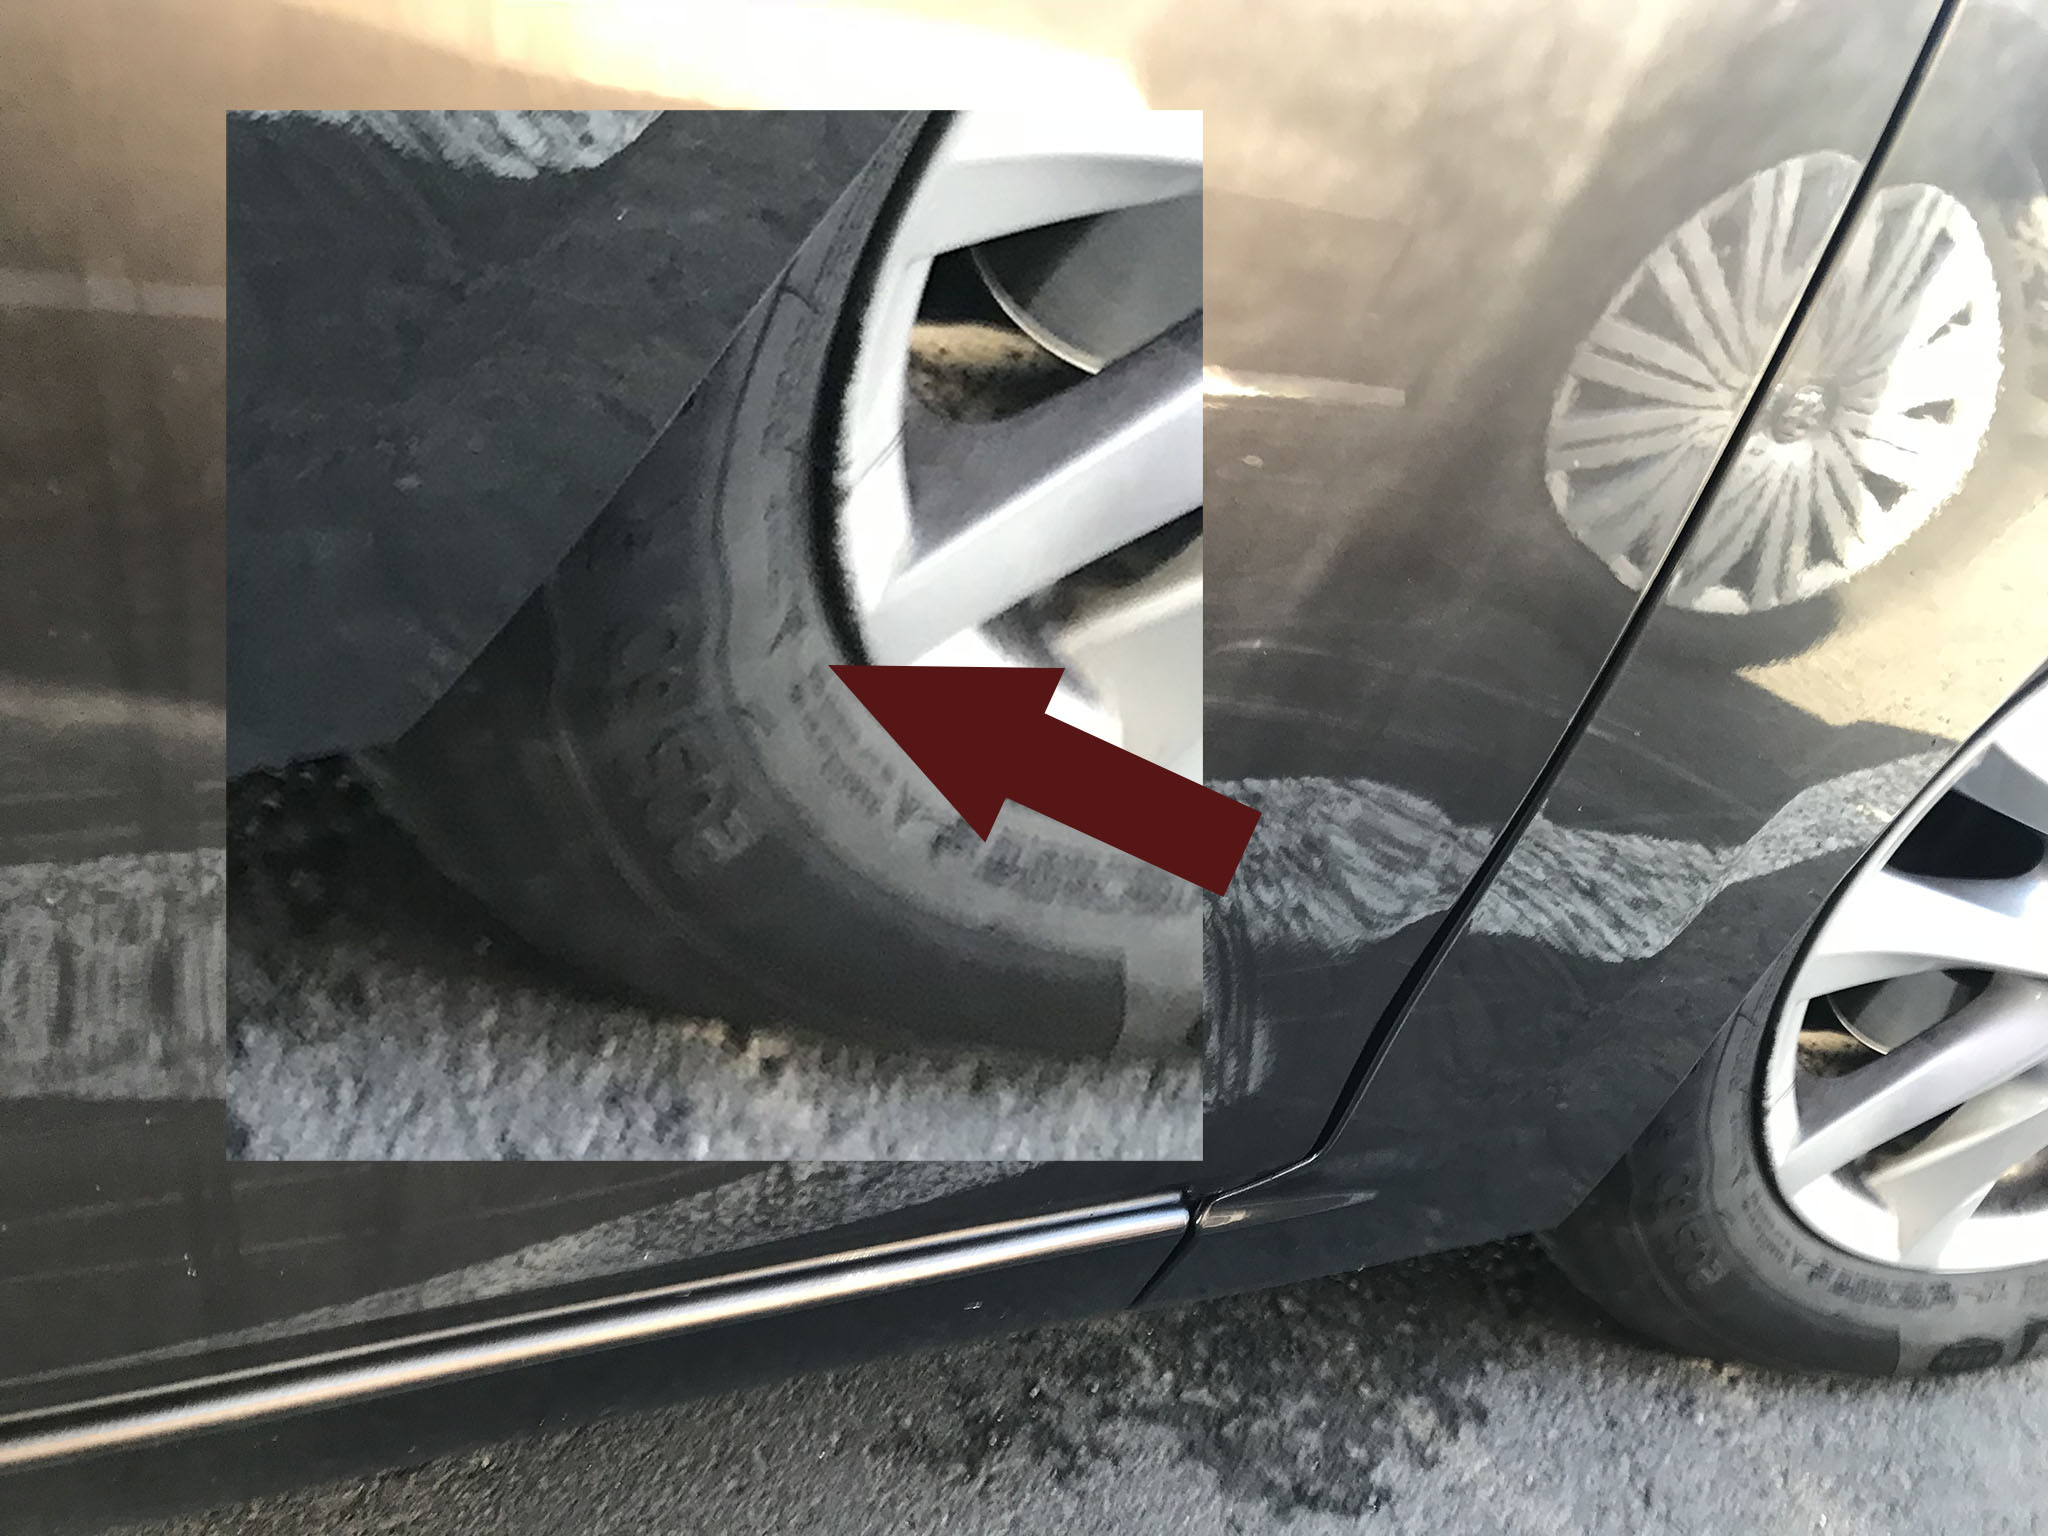
Fast forward 1,000 km in a remote fjord with very limited car traffic in Iceland’s eastern fjords. My brother David notices a bulge/bubble in the tire as we’re preparing to get back in the car and head down to the nearby village. We look closely, do a bit of Googling, and flag that not only is the bubble a sign of a tear in the tire that is likely gradually worsening, but that it’s only a matter of time until the tire blows. Concerned, we backtrack the 30-minutes or so to the one large city in the region, call the car rental, and find a garage who can do an emergency call at 2:30 pm on a Saturday afternoon.
During our preliminary call, the rental company says what we expect – get it fixed, it’s probably not safe to drive on, no you didn’t buy tire protection so you’re accountable and responsible for covering the replacement costs. Even driving to the repair shop, an after-hours call, maintenance, paired with the cost of the tire, it came to around $300. While added coverage via various secondary insurances on the card etc. might have covered the cost, everything looked pretty grim and cued up to at best mean dozens of hours spent fighting in back and forth intentional bureaucratic nonsense before there was a chance of compensation.
We’d inspected the tires initially, given them a quick glance, looked closely at the rims which didn’t show signs of damage, and so were left largely assuming that the damage must have resulted from old tire damage that was previously invisible but which we couldn’t prove, or an unlucky rock strike somewhere along the road. The nasty size of the bulge paired with the 1,000+ km. we’d driven also led us to initially assume that it had to be relatively recent damage and not something that pre-dated our rental. Still, David pulled up the photos and video I took at the start of the rental and started to inspect.
The tire in question was the most difficult to photograph and also the last portion of the car I documented during my check. That also meant it was the one part of the car I had the fewest photos of. But, sure enough, in the bottom corner of the photos from that part of the vehicle you could clearly see a smaller, but still very obvious, bulge in the tire partially obscured by the text on the tire. My video footage similarly wrapped up with only the briefest in-view window showing the tire, but still captured it.
We got the tire replaced, saved the receipt, and then at turn in – receipt and photos in hand (I emailed them to myself as a second level of protection against phone damage/theft/bad luck) the rental company quickly reviewed the photo and refunded us the money for the repair within a day. Our up-close inspection at the tire repair shop also revealed a fingernail-sized nick out of one of the rearview lights we had missed on our initial inspection. A quick review of the photos revealed that, here again, though we’d missed it the camera had caught and documented it.
Conventional wisdom and the suggestion to only photograph or mark specific damage presupposes that in a relatively high pressure, time-constrained situation, with potentially inclement weather (in our case it was wind, in past instances, it was poor light or raindrops) you’ll have perfect observational skills. The reality is that even in the best of conditions this is unlikely and when and where you can’t document it, the burden of proof is on you (and your wallet).
So, for every car rental upon pickup, regardless of which insurance you buy or how new or old the car looks at pickup, I strongly suggest you take the time to do a quick photo and video combination of the car.
- Take a slow moving 360-video of the car that pans up and down careful to get everything from the bottom of your tires and your tire tread, to the top of the car and the rooftop antenna or sun roof.
From there, you should take between 20-30 photos, potentially more, that combine detailed up-close and far away photos of:
- The car hood, grill, and lights. Take shots looking down, straight on, and then get down at knee level and capture it straight on.
- A shot from ground level beneath the car to capture anything hanging down or any obvious undercarriage damage.
- Photos that capture any seams where multiple door or body panels come together, such as the areas in-front of the tire where it meets the bumper and hood.
- All four tires from at least two perspectives, including but not limited to a straight on shot that gets the wheel well, tire, and the rims – any of which might have damage.
- A close inspection of all windows for scratch or damage marks, including small pits that might suddenly expand into visible cracks due to added stress, a bumpy road, or temperature changes.
- Both front and back windshield wipers.
- Potential key damage or scratches to the sideboards and door handle.
- The back bumper from top, bottom and the sides. Also, open the rear and capture any damage caused by suitcases, poles, or other items brought in or out of the car.
- Four shots that capture the entire front, back, left, and right sides in single photos.
Just remind yourself when tempted to rush that an extra 15 MB in photos may save you hundreds of dollars down the road.
I’d also flag based on past experiences and researching general business practices, that you avoid Payless Car Rentals (note this is NOT the company I mentioned in Iceland or the Faroe Islands) regardless of the country. They have a consistent history of negative business practices across multiple markets and for appalling support. While Payless is owned by Avis Group, it seems to be one of the most consistently questionable international car rental companies in operation.
Have your own tips or suggestions? Feel free to share them in a comment.
Note – that the above is in no way legal or exhaustive advice. Rather, just suggestions based on personal experience, observations, and a process that has worked well for me.
Whenever we travel, we try to get our hands on a car rental and explore the place at our own pace. Reading your blog post takes me back to when we rented a car in Costa Rica. I love your tips and I’ll be saving your post for when we go traveling again. Keep it up, Alex!
Thanks for reading and great to hear it resonated.